
February 2, 2026
.webp)
Mastering Camera Shooting Angles for Powerful Photography
Elevate your images with our complete guide to camera shooting angles. Learn how different angles and perspectives can transform your photos and storytelling.
Practical Skills
minutes
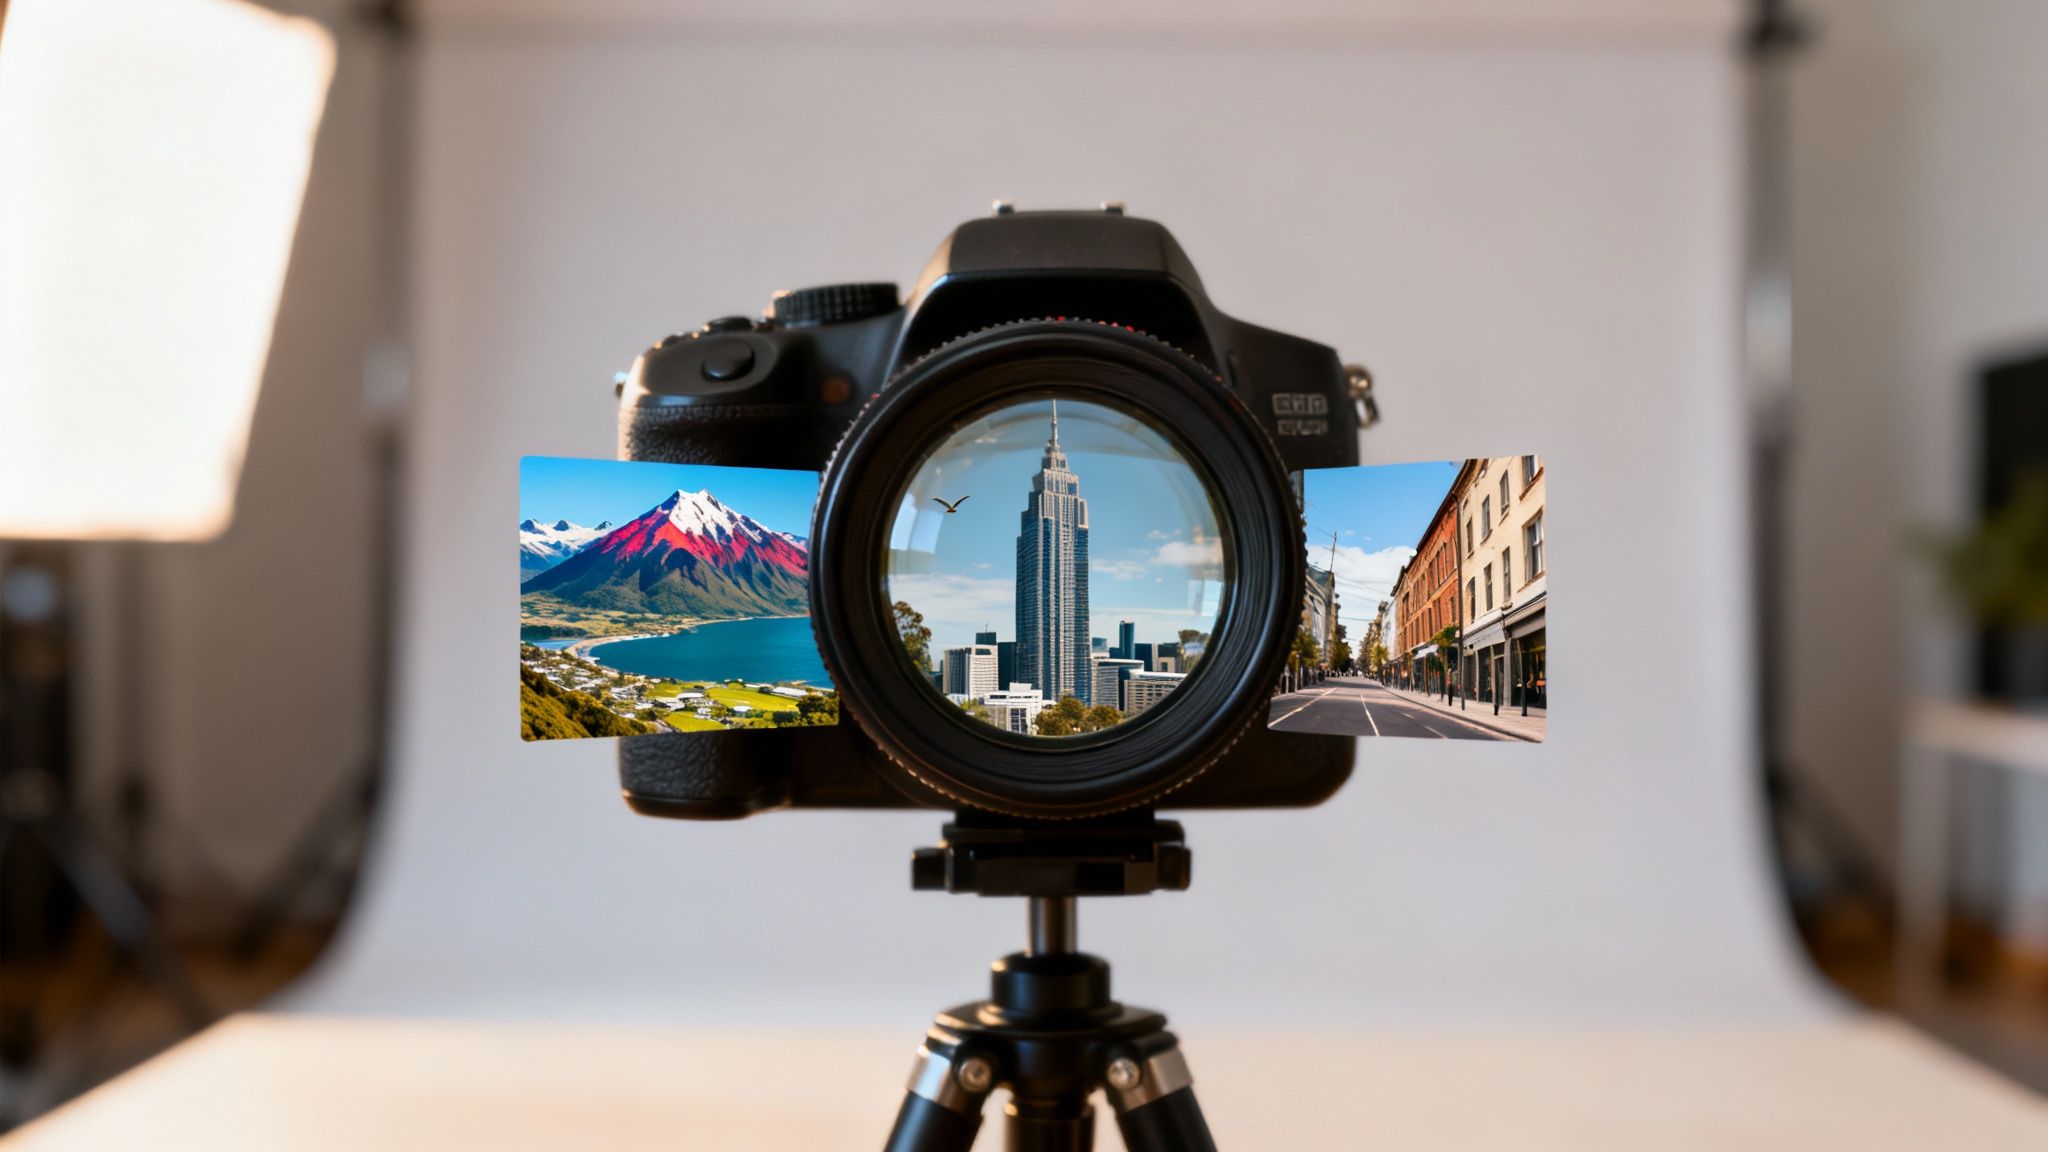
Camera shooting angles are easily your most powerful tool for telling a story. They have the power to instantly shift the mood and message of an image, often more so than the brand of your camera or the price of your lens. How you position your camera—whether you're crouching low or standing on a chair—is what gives you real creative control.
Why Camera Angles Matter More Than Your Gear
So many aspiring photographers and videographers fall into the gear trap. It’s a common belief that a more expensive camera is the secret to unlocking professional-quality images, but that’s just not the whole story. The truth is, the most impactful skill you can possibly develop is mastering composition, and camera angles are right at the heart of that.
Your choice of angle is a fundamental storytelling decision. It directly influences how someone feels when they look at your image, turning a simple snapshot into something that genuinely connects with them.
The Power of Perspective
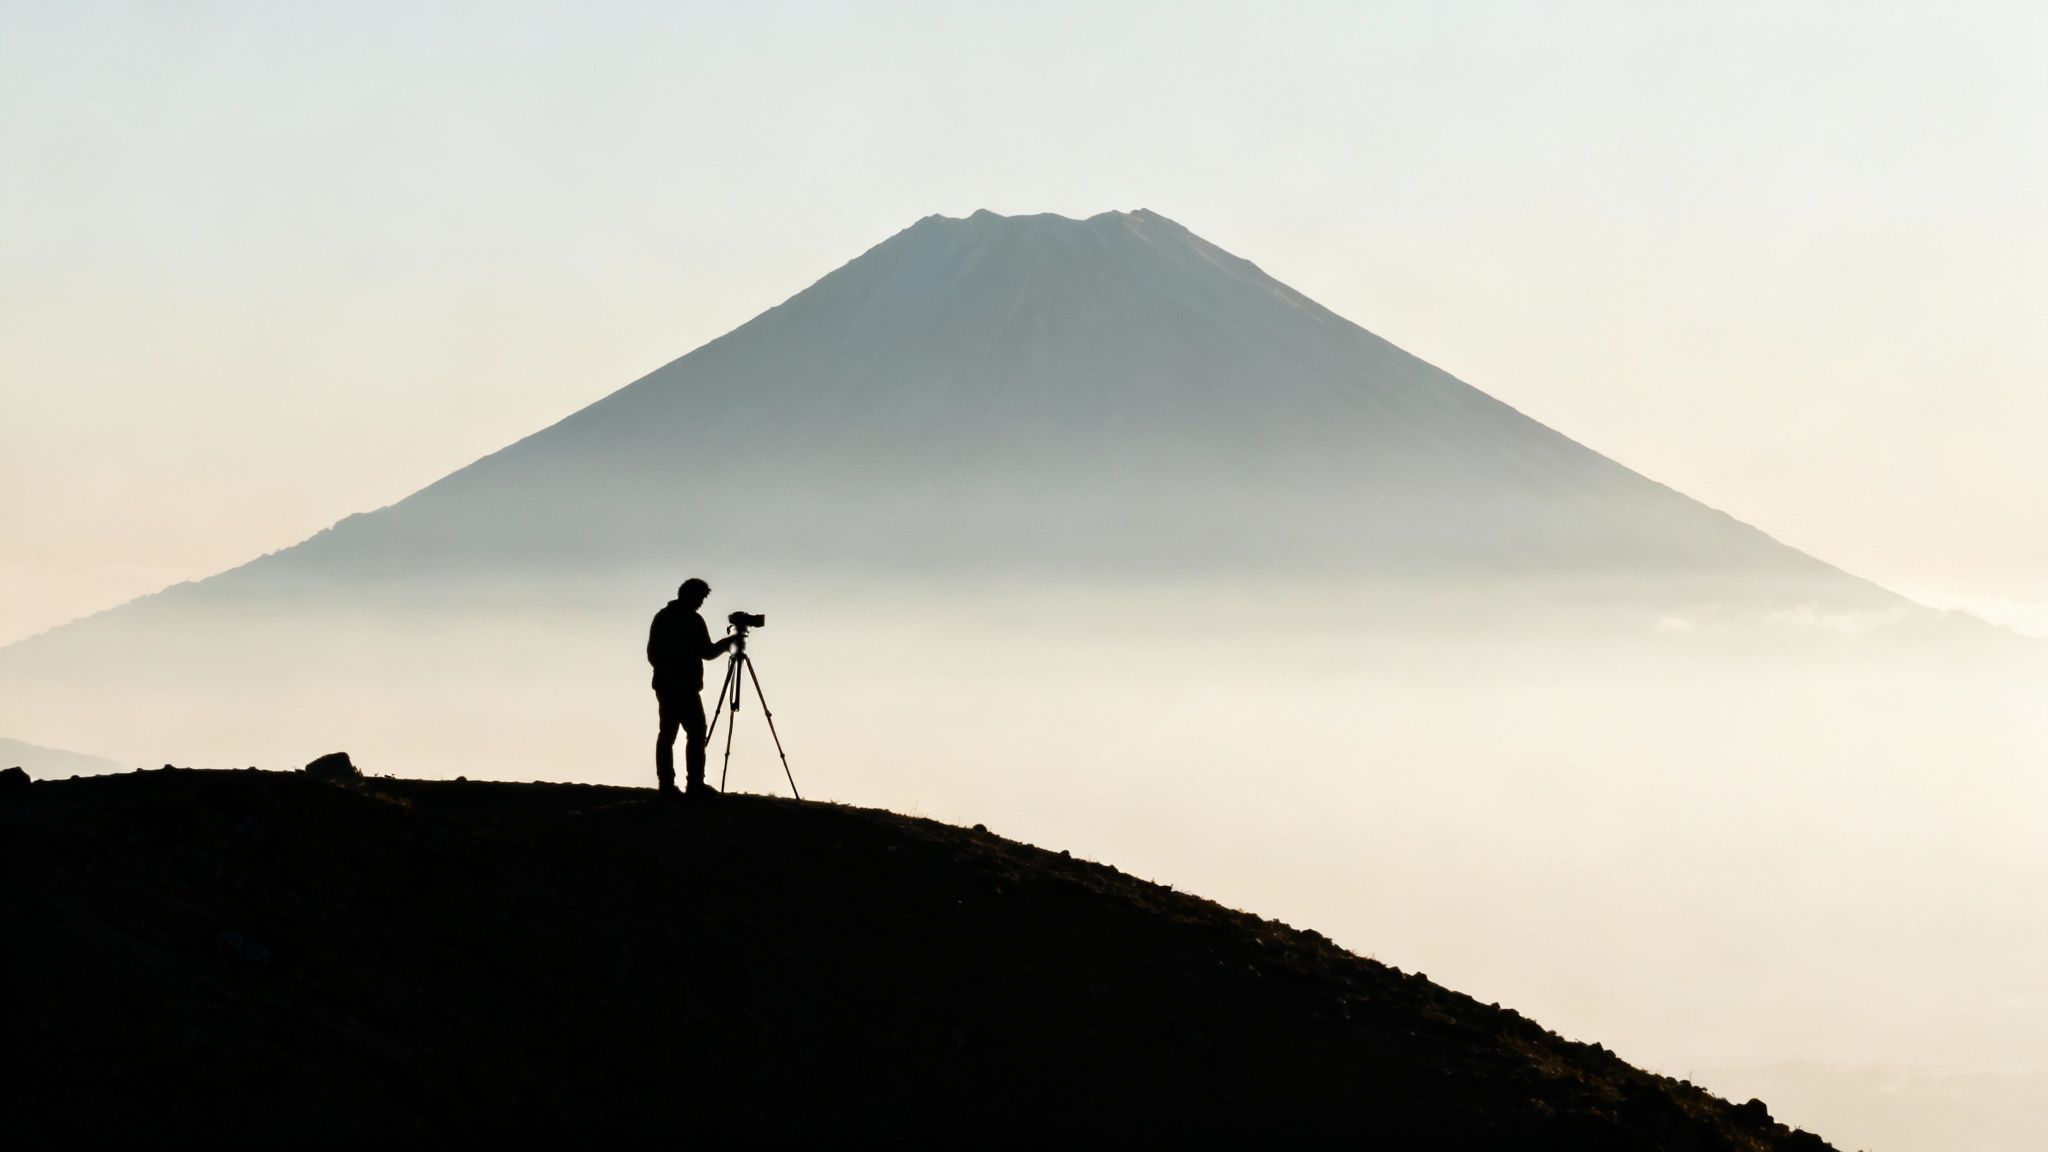
Think about capturing the immense scale of Aoraki/Mount Cook. A low-angle shot, looking up from the base, instantly makes the mountain feel dominant, powerful, and majestic. On the other hand, an eye-level shot from a distance might convey a sense of peacefulness, showing how it sits harmoniously in the landscape.
You've just told two completely different stories with the same subject, simply by changing your vertical position.
This principle works everywhere, from capturing the vibrant intimacy of a scene at the Ōtara Market to making a new product look heroic and desirable in an ad. Your angle sets the emotional tone.
The camera is an instrument that teaches people how to see without a camera. Your choice of angle is the first sentence of the story you're telling. It sets the stage for everything that follows.
Camera angles also have a huge psychological impact on the viewer. A quick glance at the table below shows just how much emotion you can stir up simply by changing your perspective.
The Emotional Impact of Key Camera Angles
As you can see, each angle brings its own flavour to the story. Mastering them is all about knowing which emotion you want to evoke and choosing the right tool for the job.
Creative Control Over Costly Equipment
Ultimately, mastering camera angles is about gaining creative control without spending a cent. It’s a skill that pays massive dividends in the quality and impact of your work. While technique always trumps technology, for those who do want to optimise their gear, understanding the best camera for video podcasting can offer some useful insights into specific needs.
This guide is built on the idea that you can create stunning images with the gear you already have. We'll explore the essential camera angles that will give you the confidence to do just that. If you are in the market for a new camera, our guide on choosing the https://www.pracskills.co.nz/blog/best-camera-for-photography can help you find a tool that truly fits your creative goals.
The Foundational Angles Every Photographer Should Know

To really build a strong foundation in visual storytelling, you've got to master the basics first. These are the camera angles you'll come back to time and time again, no matter what you're shooting.
Getting comfortable with these core three—eye-level, high-angle, and low-angle—builds muscle memory. It helps you make faster, more instinctive creative decisions on any shoot. We’ll go beyond just defining them and get into the 'why' behind each one. Understanding their psychological impact is the key to using them with real intention.
Creating Connection with the Eye-Level Angle
The eye-level shot is probably the most common and intuitive angle out there. It’s exactly what it sounds like: your camera is positioned right at your subject’s eye level, creating a direct and natural line of sight.
This perspective is our default for a good reason. It’s how we see the world and interact with people every day, which makes it feel incredibly natural and relatable. Its biggest strength is its ability to build a sense of equality and connection between the viewer and the subject.
For instance, when shooting a portrait, an eye-level angle makes your subject feel approachable and authentic. Your viewer feels like they're right there in the room, having a genuine conversation. This is why it’s used so often in interviews and documentary work—it strips away any power imbalance and invites empathy.
The eye-level angle is your go-to for honesty. It doesn't judge or dramatise; it simply presents the subject on equal terms with the viewer, creating an immediate and genuine connection.
To make your eye-level shots even stronger, pay close attention to the eyeline. Make sure their eyes are tack sharp, because that’s where the viewer’s gaze will land. Also, watch your background; since this angle feels so direct, a busy or distracting background can easily pull focus from the emotion you’re trying to capture.
Gaining Perspective with a High Angle Shot
A high-angle shot is when you position your camera above the subject’s eye level and point it down. This simple shift in elevation immediately changes the whole dynamic of the scene, often making the subject appear smaller, more vulnerable, or less powerful.
This angle can be a seriously powerful storytelling tool. Imagine photographing a lone hiker in the vast Southern Alps. A high angle, taken from a nearby ridge, would instantly emphasise their solitude and the overwhelming scale of the landscape. It makes the viewer feel like an observer looking down on the scene, giving them a much broader context.
But a high angle isn't just for making things look small. It's also fantastic for organising a scene. Think about shooting a chaotic market stall or a beautifully arranged platter of food from above. The high angle can bring a sense of order to the composition, turning clutter into an interesting pattern.
A few practical tips for pulling off great high-angle shots:
- Use it for flattering portraits: A slightly high angle is a classic portrait trick. It tends to define the jawline and can make subjects appear a little slimmer.
- Watch for distortion: Using a really wide lens from up high can distort proportions, especially with people. Be mindful of how it’s changing the look of your subject.
- Find a safe vantage point: Whether you’re on a chair, a ladder, or a hillside, always make sure you're stable and secure before you start shooting. Safety first!
Conveying Power with a Low Angle Shot
To get a low-angle shot, you do the opposite: position your camera below your subject’s eye level and tilt it upwards. This perspective flips the script from a high angle, making the subject seem powerful, dominant, and even heroic.
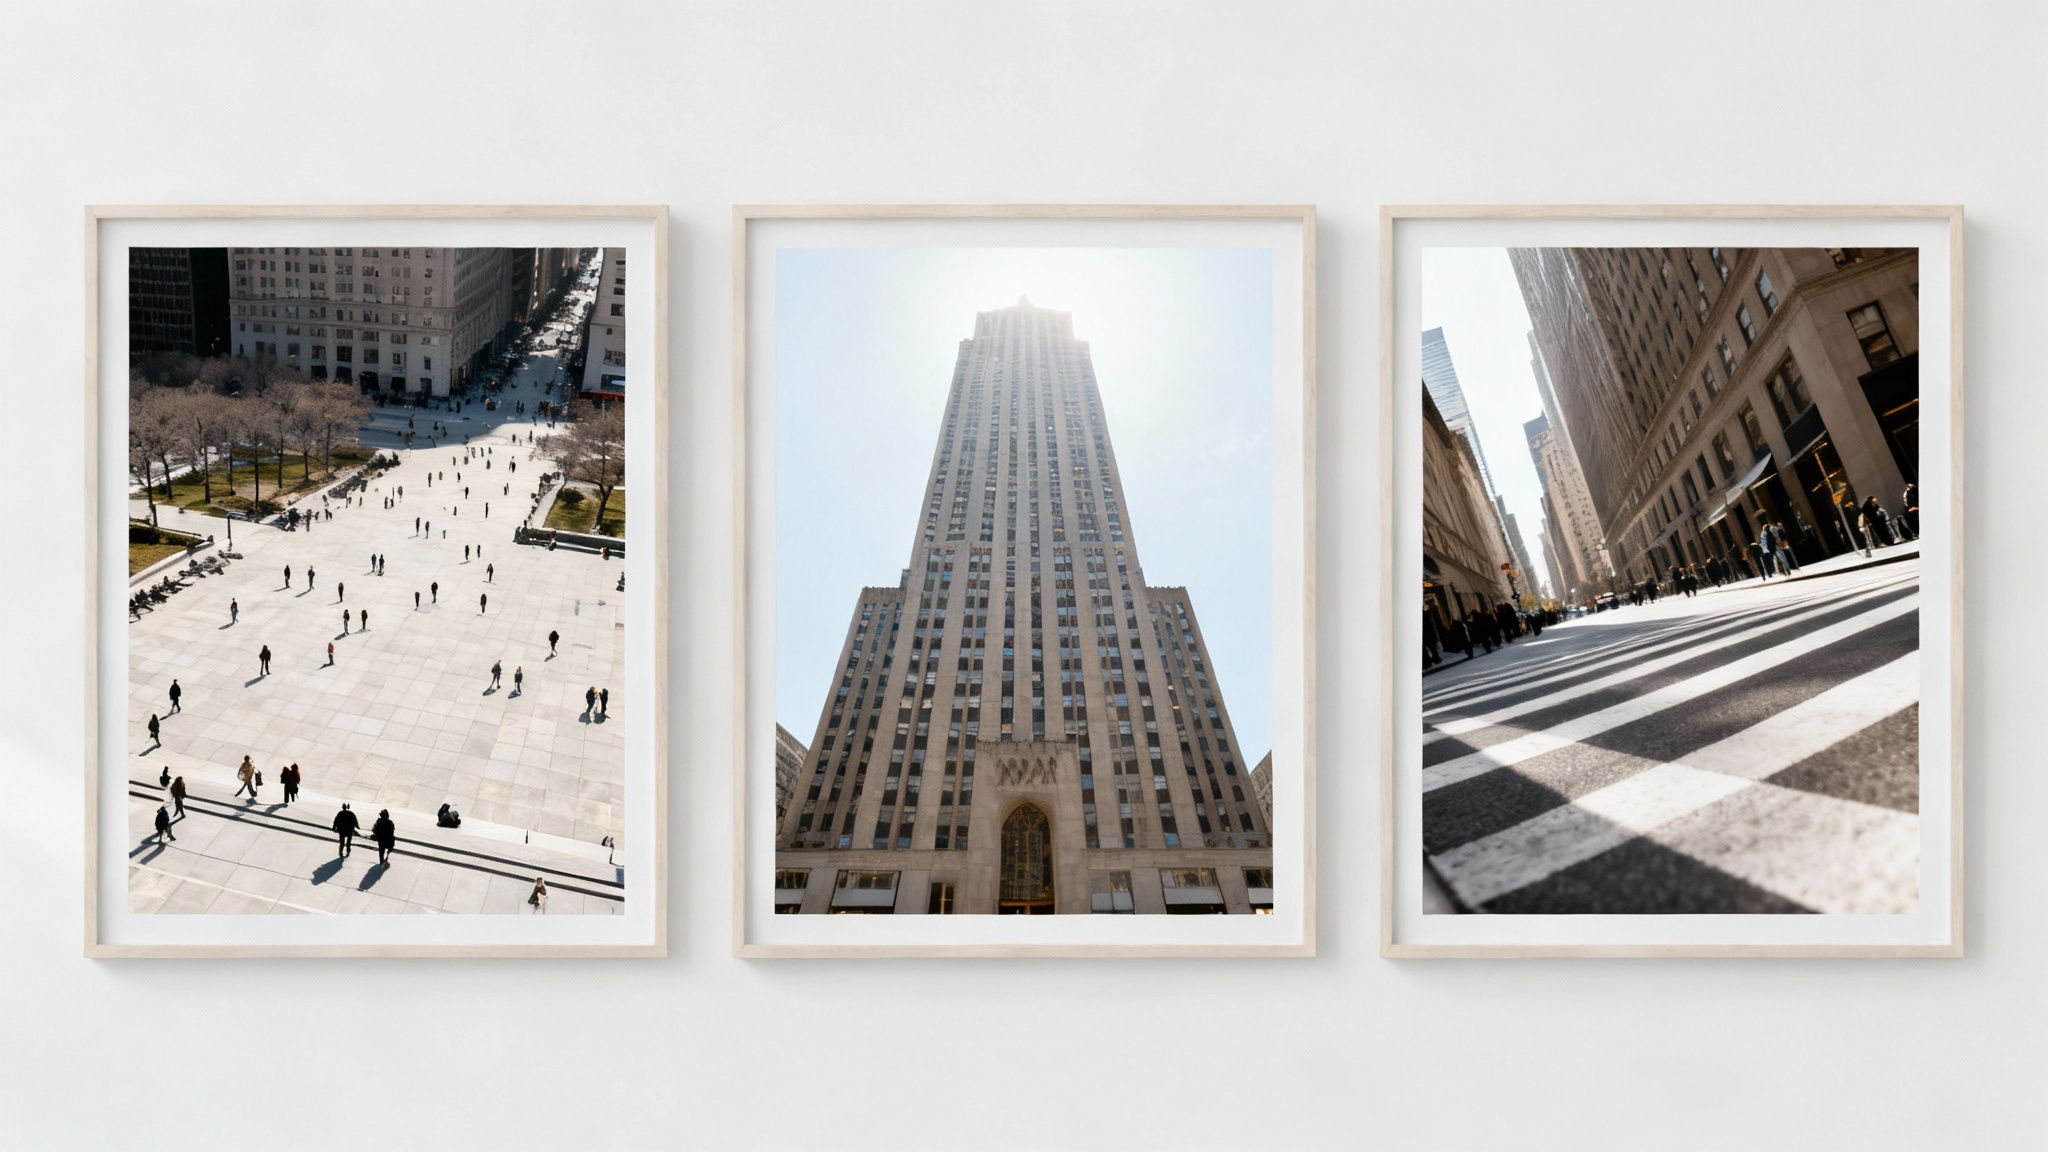
This is a favourite technique in advertising and architectural photography for a reason. Shooting a new product from a low angle can make it feel more significant and desirable. Likewise, capturing a skyscraper like Auckland’s Sky Tower from its base emphasises its incredible height and makes it feel awe-inspiring.
In portrait photography, a low-angle shot can give a subject an air of confidence and authority. Picture a CEO photographed from a low perspective at their desk—the angle instantly reinforces their status and power. It forces the viewer to literally "look up" to them.
When you're setting up a low-angle shot, keep these composition tips in mind:
- Use the sky: A low angle often brings much more of the sky into your frame. A clean blue sky or dramatic clouds can create a powerful, uncluttered backdrop that makes your subject pop.
- Mind the foreground: Getting low means the ground suddenly becomes a major part of your image. Look for interesting textures or leading lines on the ground to guide the viewer’s eye.
- Exaggerate with a wide lens: A wide-angle lens used down low will really exaggerate the perspective, making subjects seem even more towering and dramatic. This can be a brilliant creative choice for adding serious impact.
Advanced Perspectives to Elevate Your Storytelling
Once you’ve got a handle on the foundational angles, it’s time to get a bit more creative. Let's move into some dynamic and stylistic perspectives that will add some real punch to your toolkit.
These advanced angles are less about just documenting what’s in front of you and more about interpreting it. Think of them as powerful tools for injecting a specific mood, a professional flair, and a strong directorial voice into your work.
We'll dig into three really impactful techniques: the Bird's-Eye View, the Worm's-Eye View, and the Dutch Angle. Each one offers a totally unique way to shape your narrative and grab your audience, pushing your photography way beyond the everyday.
The All-Seeing Bird's-Eye View
The Bird's-Eye View is exactly what it sounds like: a shot taken from directly overhead, looking straight down. This god-like perspective gives you a unique and often abstract look at the world, revealing patterns and relationships that are completely invisible from the ground.
It's an incredibly effective angle for establishing shots, giving the viewer the lay of the land in one clean frame. Imagine capturing the sprawling vineyards of Central Otago from directly above—the neat rows of vines create a mesmerising geometric pattern you’d never see otherwise. This view pulls the viewer out of the action, giving them an omniscient, almost detached feeling.
Beyond landscapes, this angle is a staple for flat-lay photography. Whether you’re arranging food, clothing, or tech gadgets, shooting from directly overhead organises the elements into a clean, graphic composition. For those truly unique and sweeping views, more advanced techniques like aerial photography can completely transform your storytelling.
To nail this shot:
- Keep your plane parallel: Your camera's sensor has to be perfectly parallel to the ground or surface you're shooting. Any tilt will distort the perspective and ruin that top-down effect.
- Use a tripod with a horizontal arm: For controlled studio shots or flat lays, a tripod with a centre column that can flip horizontally is a lifesaver. It gives you stability and perfect alignment.
- Find a high vantage point: For bigger scenes, scout out safe access to balconies, bridges, or even nearby hills to get the elevation you need.
The Dramatic Worm's-Eye View
The Worm's-Eye View is the polar opposite of the Bird's-Eye. To pull it off, you get your camera right down on the ground—or as low as you possibly can—and point it straight up. This perspective is inherently dramatic and unfamiliar, forcing the viewer to see the world from a completely new and often startling viewpoint.
This camera angle is brilliant for making subjects look absolutely monumental. It’s like an exaggerated version of the low-angle shot, pushing that sense of power and scale to the limit. Think of a shot looking up through a dense grove of native Kauri trees; the Worm's-Eye View makes them feel like colossal pillars reaching for the sky.
It’s also a fantastic way to create a feeling of vulnerability or wonder. A child looking up at a towering adult or a person dwarfed by the immense architecture of Wellington’s Beehive can be captured powerfully from this perspective. It makes the world feel massive and full of awe.
By placing the camera at ground level, the Worm's-Eye View defamiliarises the ordinary. It turns a simple street into a canyon of skyscrapers and a patch of grass into a towering forest, injecting instant drama into any scene.
A common mistake is forgetting about the foreground. Since you’re on the ground, whatever is closest to your lens will be heavily emphasised. Use this to your advantage—place interesting textures like cobblestones or fallen leaves in the immediate foreground to add depth and visual interest.
Creating Tension with the Dutch Angle
The Dutch Angle, also known as the Dutch Tilt or Canted Angle, is all about deliberately tilting your camera on its roll axis. This simple action makes the horizontal and vertical lines in your shot run diagonally across the frame, creating a world that feels off-balance and unsettling.
This is a purely psychological tool. Our brains are hardwired to see the world with a level horizon, so a skewed frame immediately signals that something is wrong. This makes the Dutch Angle perfect for building feelings of tension, disorientation, or psychological distress. You’ll see it all the time in thrillers and action scenes to heighten the sense of chaos.
But it’s not just for negative emotions. A Dutch Angle can also inject dynamic energy into a shot. In creative portraiture or music photography, a slight tilt can make the composition feel more vibrant and less static. Imagine a shot of a skateboarder in mid-air; a Dutch Angle can amplify the energy and movement of the trick.
A few tips to use this angle wisely:
- Be intentional: A Dutch Angle needs a clear purpose. Using it randomly just makes your work look sloppy and amateur.
- Subtlety is key: A slight tilt of 5-15 degrees is often far more effective than an extreme 45-degree angle. Too much tilt can become distracting, or even comical.
- Combine it with other angles: A low-angle Dutch tilt can make a villain feel both powerful and menacingly unhinged, compounding the emotional impact.
Using Angles for Narrative and Character
Camera angles do more than just make a subject look powerful or vulnerable. They are essential tools for building relationships and telling a story. Angles define how characters relate to each other and, just as importantly, how the audience connects with them.
Two of the most powerful narrative angles are the Over-the-Shoulder (OTS) shot and the Point-of-View (POV) shot. When you get these right, you move from simply observing a scene to immersing your audience directly within it. That’s how you create a much richer, more engaging visual experience.
Fostering Connection with the Over the Shoulder Shot
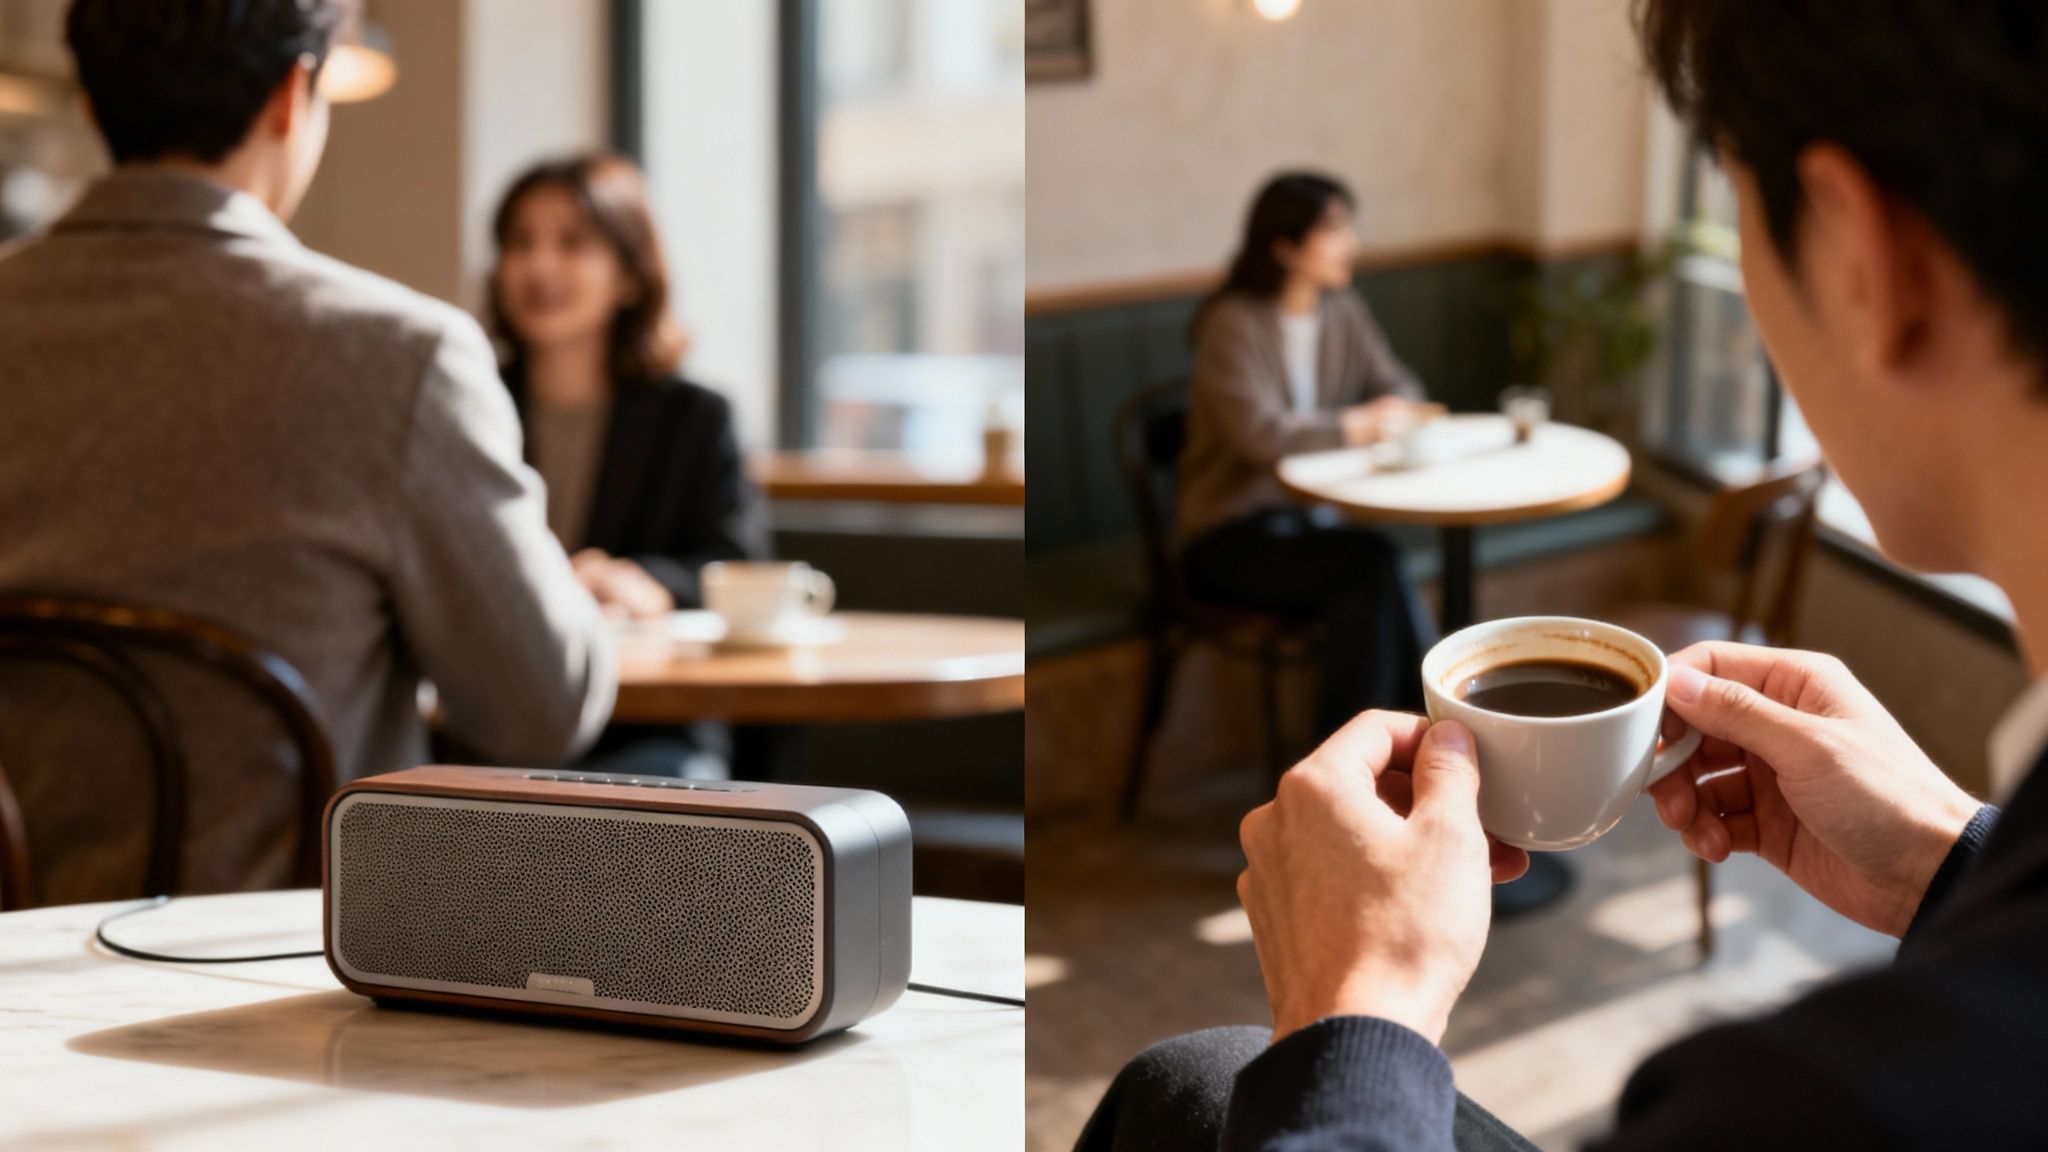
The Over-the-Shoulder (OTS) shot is a filmmaking staple that works beautifully in photography, too. It’s framed from behind one person's shoulder, looking towards another person or object. This angle is incredibly effective for creating a sense of conversation, connection, and intimacy.
By placing a character’s shoulder in the foreground, you immediately establish a relationship between the two subjects. The viewer isn't just a distant observer anymore; they feel like they’re part of the conversation, standing right there in the scene. That proximity builds a natural sense of empathy.
Imagine you're capturing two friends having coffee. An OTS shot from behind one friend, focusing on the other’s expressive face, tells a story of connection. You feel the shared moment, you don’t just see two people at a table.
The OTS shot is a bridge between the audience and the on-screen relationship. It invites the viewer into a personal space, transforming them from a passive spectator into an active participant in the conversation.
This angle is a cornerstone of storytelling in New Zealand's dynamic screen production sector, which plays a massive role in our culture and economy. Techniques like the OTS shot are fundamental to creating the compelling narratives local productions are known for. You can explore insights on the role of screen production in New Zealand for more on the industry's impact.
Tips for Effective OTS Shots
Getting the Over-the-Shoulder shot right involves a careful balance of focus and framing. Here are a few tips to make your OTS compositions feel natural and immersive:
- Manage Your Focus: You’ll usually want the person being looked at to be in sharp focus, while the shoulder in the foreground is soft. This guides the viewer's eye right to the subject’s reaction. Use a wider aperture (like f/2.8 or f/4) to get that nice shallow depth of field.
- Frame with Intention: Don't let the foreground shoulder dominate the frame. It should just be enough to establish context—typically taking up about one-third of the screen or less.
- Vary Your Angles: Shoot OTS shots from both sides of the conversation. This classic technique, called "shot/reverse shot," gives you each character’s perspective and creates a balanced, rhythmic feel.
- Maintain the Eyeline: The eyeline is the implied line of sight between two subjects. Keep it consistent so the viewer understands the spatial relationship between them. Our detailed breakdown of different angles of camera shots offers more guidance on this.
Immersing Your Audience with the Point of View Shot
If the OTS shot invites you into a conversation, the Point-of-View (POV) shot puts you directly into a character’s shoes. This technique frames the scene from a character’s perspective, showing the audience exactly what they are seeing, as if through their own eyes.
The POV is one of the most immersive angles you can use. It's a powerful tool for building empathy, as the audience experiences the world right alongside the character. It can also create incredible suspense or excitement.
Think about a first-person view of a mountain biker navigating a tough trail in Rotorua’s Whakarewarewa Forest. The viewer feels every bump and turn. In a different context, a POV shot can guide a potential client through an experience, like capturing their view as they walk into a beautifully staged home for the first time.
This technique removes the barrier between the audience and the action, making the experience visceral and memorable. By adopting a character's viewpoint, you forge a deep, personal connection that other camera angles just can't replicate.
Practical Exercises to Build Your Angle Instincts
Knowing the theory behind camera angles is one thing, but actually feeling it is another. The real goal is to get to a point where choosing the right angle is second nature—an instinct that kicks in the moment you bring the camera to your eye.
These simple exercises are designed to help you build that muscle memory. You don't need any special gear, you can do them anywhere, and they're quick enough to squeeze into a busy day. Think of it as a workout for your creative eye.
Exercise One: The Park Bench Story
This first challenge is a brilliant way to see how foundational angles can completely change a story. Your mission: tell three different stories about the most boring subject you can find—a simple park bench—using only three camera angles.
Head to a local park or public space and find an empty bench. This is your star. Now, shoot it from these three distinct perspectives:
- The Low Angle Story: Get your camera right down near the grass. Does the bench suddenly look powerful and imposing against the sky? Or maybe it feels lonely and isolated? This angle can tell a story of strength, waiting, or solitude.
- The Eye-Level Story: Shoot the bench from a normal standing or sitting height. This is your neutral, documentary view. It might tell a simple story of everyday life, an open invitation to sit down, or just a quiet moment of observation.
- The High Angle Story: Now, find a way to shoot down on the bench. Maybe there's a small hill nearby, or you can just carefully hold your camera high above your head. The bench might now seem small and vulnerable, or just one small piece of a much bigger scene. This could be a story of isolation or of being part of a larger community.
Once you’ve got all three shots, put them side-by-side. You've just created three totally different emotional moods without the subject ever moving. That’s the power of shooting with intention.
Your most powerful tool is your own two feet. Just moving your body is the fastest way to turn a dull photo into a dynamic one. This exercise is proof that perspective really is everything.
Exercise Two: Perspective Shift
Let's push that idea a bit further. This next exercise is all about focusing on a single, well-known landmark. This could be a statue in the town square, a unique building like Wellington's Beehive, or even just a massive, distinctive tree in your neighbourhood. The aim is to see how its personality changes as you move around it.
Challenge yourself to capture this landmark from at least five completely different angles. Don't just settle for the basic high, low, and eye-level shots. Get weird with it and really explore the space.
Try a few of these ideas:
- A classic low-angle shot from its base to make it feel absolutely heroic.
- A worm's-eye view right from the pavement, looking straight up into the sky.
- A shot from way back using a telephoto lens to compress the perspective and bring the background closer.
- An angle where you frame it using something in the foreground, like shooting through the branches of another tree.
- A high-angle shot from a nearby hill or building to show how it fits into its environment.
This exercise forces you to see beyond the obvious "postcard" shot. It trains your eye to hunt for unique viewpoints and to understand how an object's relationship with its surroundings changes with every step you take. For anyone keen to take their skills to the next level with some hands-on guidance, exploring New Zealand photography workshops can be a fantastic way to deepen this practice.
Exercise Three: Character POV
Our final exercise is all about immersive storytelling. Your task is to capture a simple, everyday activity entirely from a first-person point of view (POV). This angle is powerful because it drops the viewer right into the action, making them feel like they're the one performing the task.
Pick a simple process you do every day, like making your morning coffee, tying your shoes, or packing your bag for the day. Your job is to document this little ritual completely from your own perspective.
- Hold your camera right at your eye level, pointing down at your hands and whatever you're interacting with.
- Focus on capturing the key moments: pouring the water, stirring the sugar into the cup, zipping up the bag.
- Think about what you'd naturally see. Your shots will likely include your own hands, the steam rising from a mug, or the view out the kitchen window.
This challenge forces you to think more like a filmmaker, building a sequence of shots that tells a story moment by moment. It’s an incredible way to practise building a narrative and creating a real, empathetic connection with the person looking at your photo. You'll quickly see why the POV shot is one of the most effective camera shooting angles for making an experience feel personal and authentic.
Common Questions About Camera Angles
Even with a solid grasp of the theory behind different camera angles, you’ll naturally have questions when you start putting it all into practice. Let's tackle some of the most common queries I hear from up-and-coming photographers.
These answers are designed to give you clear, practical advice, helping you get past those common hurdles and start making creative choices with more confidence.
What Is the Best Lens for Experimenting with Different Camera Angles?
You can absolutely practise with any lens you own, but if you're just starting out, a versatile zoom like a 24-70mm is fantastic. It gives you the freedom to go from wide compositions to tighter shots without constantly swapping gear, which is perfect for exercises where you're quickly changing your perspective.
When you want to get more dramatic, especially with something like a Worm's-Eye View, a dedicated wide-angle lens (think 16-35mm) can create seriously immersive results by exaggerating the sense of scale.
Remember, the best tool you have is your own creativity. Mastering the angle itself is far more important than the specific lens you're using, so don't be afraid to start with whatever is already in your camera bag.
How Do I Choose the Right Angle for a Portrait?
The right angle for a portrait comes down to the story you want to tell. There's no single "correct" angle—it's all about the emotional impact you're after.
Here are a few starting points to consider:
- For an honest connection: An eye-level shot is your go-to. It feels direct and relatable, putting the viewer on the same level as your subject.
- For a flattering look: A slightly high angle is a classic technique for a reason. It subtly defines the jawline and tends to be a very flattering perspective for most people.
- To convey confidence: A low angle can make your subject look powerful, self-assured, and even heroic. It’s a great choice for professional headshots where you want to project authority.
Don't forget to talk to your subject! The best portraits are a collaboration. Experiment together to find what feels natural and best represents their personality.
Can I Use These Camera Angle Principles with My Smartphone?
Absolutely! Every single principle we've covered applies just as much to your smartphone as it does to a high-end DSLR. In many ways, your phone is the perfect tool for practice.
Because they're so small and light, smartphones make it incredibly easy to experiment with dramatic angles. You can get into tight spaces for a unique perspective—like a true Worm's-Eye View right on the pavement—that would be awkward or even impossible with a bigger camera.
The key is simply to be intentional. Get out of the habit of just pointing and shooting from chest height. Consciously thinking about your camera angle is one of the fastest ways to make your smartphone photos look significantly more professional.
Ready to turn your passion for photography into a real skill? At Prac Skills NZ, we offer practical, career-focused courses designed for Kiwis. Our online platform helps you build your creative talents with up-to-date content tailored for the New Zealand market. Learn more at Prac Skills NZ.
