
December 12, 2025
.webp)
A Farmer's Guide to Building an Animal Feed Barn in NZ
Build a smarter animal feed barn with this practical NZ guide. Learn about site selection, design, materials, and long-term management for farm profitability.
Career Development
minutes
A Farmer's Guide to Building an Animal Feed Barn in NZ
An animal feed barn is far more than just another shed on your property. Think of it as a strategic asset for any modern NZ farm—one that actively protects your feed investment, slashes waste, and directly contributes to better livestock health. It creates a secure, dry, and controlled space for storing supplementary feeds, keeping them safe from weather, pests, and spoilage. This is absolutely essential for maintaining feed quality and getting the maximum nutritional value for your stock.
The Shift Towards Strategic Feed Storage
Gone are the days when a simple lean-to would do the job. New Zealand's climate is getting less predictable, and the push for greater farm efficiency is constant. Because of this, relying on high-quality supplementary feed is now the standard. A purpose-built animal feed barn isn't just basic shelter; it's the central hub for your farm's resilience and profitability.
This guide is all about sharing practical, on-the-ground insights to help you plan and build a structure that truly strengthens your operation. Just a heads-up, this information comes from our industry experience and practical knowledge, not formal qualifications. Our goal is to give you clear, actionable advice so you can make the best decisions for your farm.
Protecting Your Biggest On-Farm Investment
For many farms, feed is one of the single largest variable costs. Leaving it exposed to the elements is like leaving cash out in the rain. A well-designed barn gives you critical protection against the big three culprits:
- Weather Damage: Rain and dampness are your enemies. They quickly lead to mould, rot, and a serious drop in nutritional value, turning expensive feed into a useless pile.
- Pest Contamination: Rodents and birds don't just eat your valuable feed; they contaminate it with droppings, spreading disease and making it unpalatable for your livestock.
- Sunlight Degradation: You might not think about it, but prolonged exposure to UV rays can break down essential vitamins and nutrients in certain feeds, reducing their value.
A secure animal feed barn is really an insurance policy for your feed. By stopping spoilage and contamination before they start, it ensures every dollar you spend on feed translates directly into animal performance, rather than being lost to waste.
The Economic Case for a Modern Barn
The financial upside of a dedicated feed barn goes well beyond just preventing waste. In New Zealand's dairy-heavy agricultural landscape, these structures are vital. As our pasture-based systems lean more on supplements—with some farms hitting 25% supplemental feed in their annual intake—the need for proper storage is crystal clear. The dairy sector alone chews through about 75% of the country's total grain and feed, making it the main driver for this kind of infrastructure. You can get a better sense of these market dynamics by checking out the Grain and Feed Market Situation report.
As you think through the reasons for a modern barn, a really useful farmer's guide to steel farm buildings can show you the many advantages they have over older, traditional structures. The right building helps you jump on market opportunities, like buying feed in bulk when prices are low, knowing you can store it securely for months.
Laying the Groundwork for Your Barn Project
A top-notch animal feed barn doesn't just appear overnight. The real work, the stuff that saves you from major headaches and costs down the track, happens long before a single post goes in the ground. This initial planning is your blueprint for a core farm asset, and every decision you make now will have a ripple effect for years to come.
Getting these first steps right means your new build won't just be a shed; it'll be the hardworking hub of your feeding operation. It’s all about thinking ahead—from how a truck will get in on a wet day to where your herd numbers will be in five years.
This simple flow chart really nails down the benefits that come from a well-thought-out feed storage system.
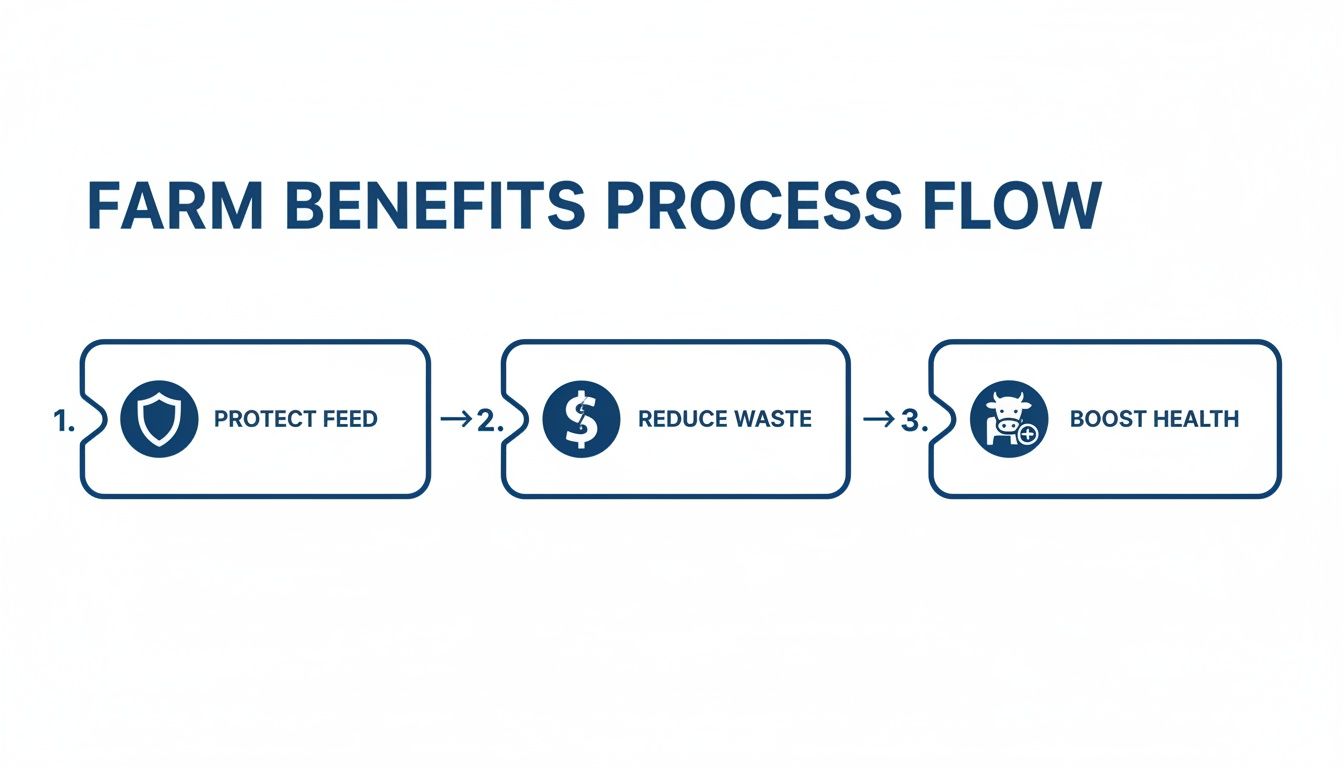
Ultimately, it shows a clear line from protecting your feed investment straight through to less waste and healthier, more productive animals.
Choosing the Perfect Site
You’ve heard the old real estate saying: location, location, location. Well, it’s just as true for a farm building. Where you decide to put your animal feed barn will define your daily workflow for decades.
First up, think about all-weather access. The site has to be easy for big trucks to get to, even in the middle of a sodden winter. That means a solid, well-drained track that won’t turn into a bog and swallow a heavy vehicle.
Next, consider the natural flow of your farm. The barn should sit logically between your feed delivery spot and your paddocks or feed-out areas. You want to create the most efficient loop for your tractor or loader, slashing travel time and fuel use during daily chores.
Pro Tip: Spend a week just tracking your current feeding routes. Jot down how long it takes and any bottlenecks you hit. This simple exercise often shines a spotlight on the most logical place for a new barn.
Finally, take a hard look at the land itself. Good drainage is an absolute must. A spot that naturally slopes away from the building is perfect, as it stops water from pooling around the foundations and creeping inside. A damp barn is a fast track to spoiled feed and structural issues.
Calculating Your Storage Needs Accurately
One of the easiest mistakes to make is building too small. Your new animal feed barn needs to work for your farm not just this season, but for the next 5 to 10 years.
To get the size right, you need to ask yourself a few honest questions:
- What’s my current herd size, and what are my growth plans? Be realistic about any expansion plans so you’re not caught short on space down the line.
- What kinds of feed am I storing? Different feeds have different needs. Bulk feeds like PKE or grain require strong, purpose-built bays, while silage needs a proper bunker. Hay and baleage demand a large, dry area with plenty of airflow.
- How much of each feed do I need on hand? Think about how you buy. If you purchase in bulk to lock in a good price, you'll need a lot more storage than someone who gets smaller, more frequent deliveries.
Mapping this all out helps you nail down the ideal footprint and internal layout. A bit of forward-thinking here saves you the massive frustration of outgrowing your brand-new barn in just a couple of years.
Before you start digging, it's wise to run through a checklist to make sure you've covered all your bases. This simple table can help you organise your thoughts and confirm you're on the right track.
Key Planning Considerations Checklist
Running through these questions is a crucial step. It forces you to think through the practical, day-to-day realities of your new barn before you commit to a final plan.
Understanding New Zealand's Rules and Regulations
Trying to get your head around the legal side of things can feel a bit overwhelming, but it’s a non-negotiable step. In New Zealand, building projects fall under the Resource Management Act (RMA) and your local council’s district plan.
Your first stop should always be your local council. They’ll have the specific rules for your zone, including any limits on building size, height, and how far it needs to be from your boundaries. When you're planning your feed barn, getting the council approvals and site prep right is critical. While it's Australian, a complete guide to building a shed on rural land in NSW offers some great insights into similar principles that apply here.
The big question is whether you need a building consent. Many smaller, single-level farm buildings are exempt, but the rules are very specific. Exemptions usually hinge on the building's size, its intended use, and its distance from other buildings and boundaries. You must confirm your exemption status before you start any work. Assuming you’re exempt when you’re not can lead to massive fines and even an order to pull the structure down.
If you’re keen to get a better handle on the wider world of farm management, looking into some of the farming courses available in NZ can give you a solid grounding in both the practical and regulatory side of things. Just remember, this guide is based on our hands-on experience, not from the perspective of a registered training provider.
Designing for Feed Quality and Farm Biosecurity
Alright, you've got the perfect spot picked out for your new feed barn. Now for the crucial part: the design itself. What you decide here has a massive ripple effect across your entire operation, directly influencing your feed quality, day-to-day efficiency, and the biosecurity of your farm.
A well-thought-out feed barn is far more than just four walls and a roof; it's a purpose-built system designed to protect your investment from every angle.
This means getting practical about how you'll keep different feed types separate to stop cross-contamination, how you’ll lock out pests for good, and how you’ll manage moisture to prevent mould from taking hold. It all starts with a smart, practical layout.
Smart Layouts for Efficient Workflow
The inside of your barn needs to be built around pure logic and flow. A confusing or tight layout just adds unnecessary time and frustration to your daily chores. The main goal here is a space where machinery moves freely and different feeds are stored safely and separately.
There's a reason a multi-bay setup is the industry standard—it just works. It lets you create dedicated zones for different feeds, whether it's PKE, grain, silage, or hay. This separation is the cornerstone of good biosecurity, preventing any chance of cross-contamination.
Think about the turning circle of your biggest machine, which is probably your tractor or loader. A classic rookie mistake is making the bays too narrow or the accessway too tight. You don't want to be forced into awkward three-point turns just to get a bucket of feed.
When you're mapping out the bays, think a few years ahead. Even if you're only storing two types of feed right now, adding an extra bay gives you invaluable flexibility down the track. It's a heck of a lot cheaper to build it from the get-go than to add an extension later on.
Creating an Impenetrable Fortress Against Pests
Pests aren't just an annoyance; they're a direct threat to your feed quality and the health of your stock. Rodents and birds don’t just eat your expensive feed—they contaminate it with droppings and disease. Your barn design has to be a physical fortress against these intruders.
This starts right from the ground up with a solid, sealed concrete floor. A 150mm thick slab is absolutely non-negotiable. It's tough enough for heavy gear and, more importantly, gives rats and mice nowhere to burrow. Make sure the concrete is poured right to the edge of the walls, leaving zero gaps.
Beyond the floor, you need to be meticulous about pest-proofing:
- Bird-Proofing: Birds love to roost in rafters, and their droppings can ruin tonnes of feed. Get netting or mesh installed under the eaves and across any roof openings to keep them out.
- Sealed Gaps: Go over the whole structure and seal every little gap. A mouse can squeeze through a hole the size of a pen, so check around doors, windows, and where the cladding meets the foundation.
- Secure Doors: Opt for roller doors with good-quality rubber seals along the bottom. They create a much tighter barrier against pests than old-school swinging doors.
Taking a proactive approach to pest control in the design phase will save you a massive amount of time, money, and stress later on.
Mastering Ventilation and Drainage
Moisture is the absolute enemy of quality feed. A damp, humid barn is the perfect breeding ground for mould and bacteria, which can cause serious health problems for your livestock and make your feed completely worthless. Your two best weapons in this fight are effective ventilation and solid drainage.
Proper ventilation is more than just cracking a door open. It’s about creating constant airflow that pulls warm, moist air out and brings fresh, dry air in. One of the best ways to do this is with a ridge vent running the full length of the roof, allowing hot, humid air (which naturally rises) to escape.
If you pair a ridge vent with vented eaves, you create a natural convection current. This system constantly cycles the air inside without needing any power-hungry mechanical fans—it's cost-effective and incredibly efficient at keeping humidity in check.
Just as important is managing water on the floor. Your concrete slab should be poured with a very slight, almost unnoticeable slope towards the main entrance. This simple trick ensures any water from a pressure washer or tracked in by machinery naturally drains out instead of pooling in the corners.
Finally, don't forget spouting and downpipes to handle rainwater from the roof. Make sure you direct this water well away from the barn's foundation and into a proper soak pit or drainage field. This stops the ground around your building from turning into a bog and protects both your feed and the barn's structural integrity.
Choosing the Right Materials and Construction
Right, you've got your site sorted and a design that looks good on paper. Now it's time to get into the nuts and bolts of your animal feed barn—the actual materials that have to stand up to New Zealand’s weather and the daily grind of farm life.
The decisions you make here will have a direct impact on how long your barn lasts, what it costs you in upkeep, and its overall durability. This is where you really need to weigh up the upfront investment against the barn's future performance. A bit of smart thinking now can save you a world of headaches and unexpected repair bills five years down the track.
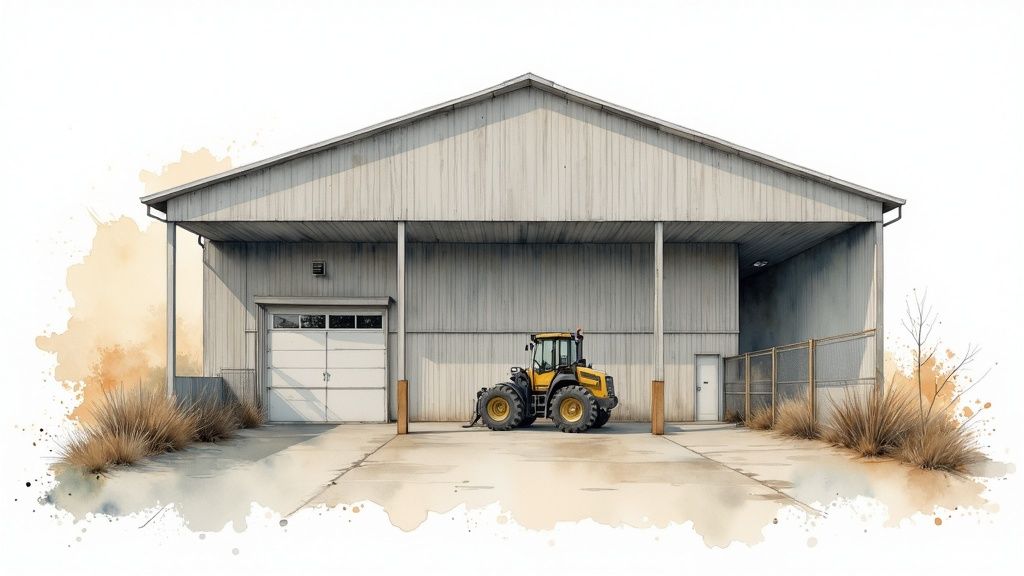
Timber Pole vs Steel Frame Construction
Here in New Zealand, you're generally looking at two main ways to build a rural structure like a feed barn: a classic timber pole shed or a steel frame building. Each has its own clear pros and cons, and the best choice often boils down to your budget, your specific site, and what you need the building to do for you long-term.
A timber pole shed is usually the more wallet-friendly option to get started. It’s a pretty straightforward concept: treated timber poles are set directly into the ground, making for a relatively quick and simple build. This approach is particularly good for uneven sites, as you can adjust the pole lengths to match the lay of the land. The downside? Even properly treated timber won't last forever and will need more maintenance over the decades to keep rot at bay. If you're leaning this way, it's crucial to get your head around the best practices for the treatment of timber, because that’s what will give your structure its staying power.
On the other hand, you have the steel portal frame. This option gives you incredible strength and, most importantly, a clear-span interior. That means no internal poles getting in the way when you're maneuvering machinery. Steel frame designs are exceptionally durable, fire-resistant, and with modern galvanised coatings, they stand up to corrosion brilliantly. While it'll likely cost you more upfront, the lower maintenance and longer lifespan often make it the more economical choice in the long run.
Roofing and Cladding for NZ Conditions
The outer skin of your barn is its first line of defence, and for most farm buildings in New Zealand, corrugated iron (or modern versions like Zincalume or Colorsteel) is the undisputed champion. There's a good reason for that.
It's tough, light, and can handle everything from scorching summer sun to torrential rain. The trick is to pick the right grade and coating for your local climate.
- Coastal Areas: If you're anywhere near the coast, you absolutely need a product with a higher-grade coating specifically made to resist salt spray corrosion. Don't skimp here.
- High Wind Zones: In windy spots, pay close attention to the fixing specs. Using extra screws and cyclone washers is a small extra cost that can stop your roof from peeling off in a proper gale.
- Snowfall Regions: For those in parts of the South Island that get a good dumping of snow, make sure the roof pitch is steep enough. You want the snow to slide off easily rather than building up and putting a dangerous load on your structure.
Flooring and Internal Components
The floor of an animal feed barn cops an absolute hiding. It's dealing with heavy machinery, corrosive feed, and constant traffic. A 150mm thick reinforced concrete slab should be considered the bare minimum.
For high-traffic zones, like the main access way or the feed-out area, it’s well worth the extra investment to get a hardened or sealed concrete surface. This makes the floor far less porous, which means it’s much easier to clean and more resistant to damage from things like acidic silage leachate or the constant scraping of a loader bucket.
A well-laid, properly cured concrete floor is the foundation of good barn hygiene. It eliminates places for rodents to burrow and makes a full wash-down simple and effective, which is critical for biosecurity.
When it comes to the bits and pieces inside, think practical and tough. Bay dividers have to withstand the immense pressure of bulk feeds. Precast concrete panels are a fantastic option; they're incredibly strong and can be shifted if you ever need to change your layout. For any feed-out systems, go for simple, robust designs. Fewer moving parts nearly always means more reliability and less maintenance. Chat through these specific components with your builder to make sure you end up with a barn that truly works for you day in, day out.
Smart Management for a High-Performing Feed Barn
The construction is finished, the final nail is in, but your work on the animal feed barn is far from over. A well-built structure is only half the story; getting the most out of this new asset really comes down to smart, consistent management.
This is how you turn a simple building into a high-performing hub that actively improves your farm’s bottom line.
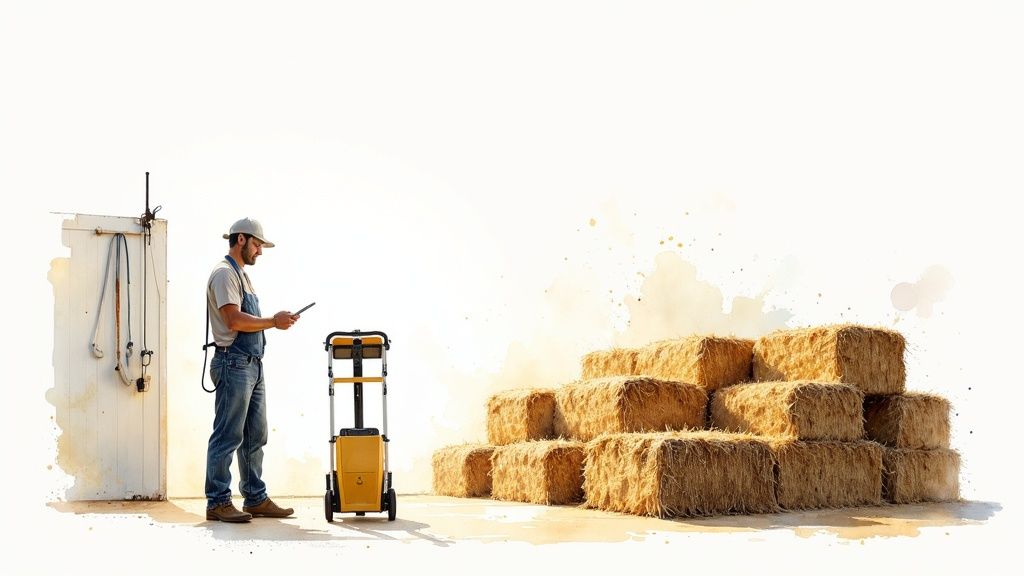
Effective management routines are all about the simple habits you build. They ensure your feed stays fresh, your barn remains secure, and your whole operation runs safely. It's about preventing spoilage, minimising waste, and protecting your livestock's health every single day.
Implementing a First-In, First-Out System
The golden rule of feed storage is ‘first-in, first-out’ (FIFO). Honestly, this simple stock rotation principle is your best defence against stale or spoiled feed.
When a new delivery arrives, it should always be placed behind the existing stock. This ensures the oldest feed is always at the front, ready to be used first. It sounds basic, but it’s amazing how often this gets overlooked in a busy season.
Failing to rotate your stock means older feed gets trapped at the back of the bay. There, it can quietly degrade, lose nutritional value, or even grow mould. A bit of discipline with FIFO pays for itself many times over by slashing waste. Think of it like rotating stock on a supermarket shelf—the freshest stuff always goes to the back.
A well-managed animal feed barn is pivotal in the beef sector, where favourable farmgate prices have changed slaughter patterns and increased the need for on-farm feed storage. These barns play a key role in balancing regional feed disparities, especially as prices for bull beef and cows are 35-45% above five-year averages, making smart feed storage crucial for value-added finishing.
Maintaining Barn Hygiene and Biosecurity
A clean barn is a biosecure barn. There's no getting around it—regular cleaning is non-negotiable for preventing pest infestations and stopping the spread of disease.
Forget sporadic deep cleans. A simple, repeatable schedule is far more effective.
Your routine should include these key tasks:
- Weekly Sweep-Out: Clear out any spilled feed from access ways and around the base of your bays. This small step removes temptation for rodents and birds.
- Between-Batch Cleaning: Whenever a bay is emptied, give it a thorough sweep and wash-down before the next delivery arrives. This prevents cross-contamination.
- Annual Deep Clean: At least once a year, empty the barn completely for a full pressure wash. This is a great opportunity to check for any structural issues, like cracks in the concrete.
This proactive approach keeps your storage environment sanitary and protects both your feed quality and your animals' health. Developing strong hygiene protocols is a fundamental part of good animal husbandry. For those looking to broaden their knowledge, exploring animal care courses in NZ can provide a deeper understanding of these principles. Please be aware that our guide is based on practical experience, not as a registered NZQA provider.
Routine Checks and Safety Protocols
Your feed barn is a workplace, and safety must always come first, especially when you’re operating machinery in a confined space. Establish clear safety protocols that everyone on the farm understands and follows without exception.
Start with regular visual inspections of the structure itself. Once a month, take a quick walk around and look for loose cladding, blocked gutters, or any signs of damage. Catching these small issues early prevents them from becoming expensive headaches.
Inside the barn, your focus should be on feed quality and operational safety:
- Check for Spoilage: Every time you collect feed, use your senses. A musty odour, visible mould, or clumps of damp feed are red flags that need immediate attention.
- Machinery Operation: Never run engines longer than necessary inside the barn to avoid a build-up of exhaust fumes. Always ensure the area is well-ventilated when tractors or loaders are in use.
- Clear Access Ways: Keep all pathways and access areas completely clear of tools, empty bags, or other trip hazards. A tidy workspace is a safe workspace.
By integrating these management practices into your weekly routine, your animal feed barn will consistently deliver value, protecting your investment and supporting a healthier, more productive farm.
Common Questions on Building a Feed Barn
Putting up a new animal feed barn is a big project, and it's completely normal for a heap of questions to pop up. You're probably wondering about everything from the final cost to dealing with the council. It’s a lot to get your head around.
To help clear things up, we've pulled together some of the most common queries we hear from farmers all over New Zealand. Here are some straight-up answers to get you moving forward with confidence.
What Is the Typical Cost for a Feed Barn in NZ?
This is the big one, isn't it? And the honest answer is: it really depends. You could be looking at a starting point of around $250 per square metre for a very basic, open-front timber pole shed, but that's just the beginning of the story.
The final price tag gets shaped by a whole lot of different factors. Your total investment will really come down to:
- Size and Complexity: A straightforward three-bay shed is going to be worlds away, cost-wise, from a larger, more complex build with multiple bays and enclosed sections.
- Materials Chosen: A steel portal frame might have a higher upfront cost than a timber pole construction, but it often wins out in the long run with its durability and lower maintenance needs.
- Site Preparation: This is a big variable. If your chosen spot needs serious earthworks, extensive drainage, or a long new access road, those costs can pile up fast.
- Internal Fit-Out: Every detail adds up. The type of flooring you choose (like hardened concrete), the quality of your bay dividers, and whether you're adding power and water all play a part in the final bill.
As a rough guide, you'll find a quality, mid-range animal feed barn often lands somewhere between $400 to $600+ per square metre once you factor in the concrete floor, site work, and full construction. The best advice is always to get multiple, detailed quotes from builders you trust before you commit to anything.
How Long Does Construction Usually Take?
Once the paperwork is sorted and your contractor is ready to roll, the actual on-site build of a standard feed barn can happen surprisingly fast. For a typical farm shed, you might be looking at a timeframe of 4 to 8 weeks from when the first post goes in the ground to the final sign-off.
But, and it's a big but, the total project timeline is much longer. The pre-construction phase is where you'll spend most of your time. This covers finalising your design, getting all the engineering work signed off, and the big one: waiting for the council to process and approve your building consent. That consent process alone can easily take 2 to 4 months, and sometimes even longer if your local council is swamped or your project has some complexity to it.
Do I Really Need a Building Consent?
For a structure of this size and purpose, the answer is almost certainly yes.
While New Zealand's Building Code does have exemptions for some small, single-storey farm buildings, a proper animal feed barn is going to sail past the size limits for those exemptions. It's absolutely crucial to check with your local council before a single sod is turned. Don't rely on a guess or what the neighbour did five years ago; the rules can and do change.
Trying to build without the proper consent can lead to a world of pain, including a "Notice to Fix," hefty fines, and, in the worst-case scenario, an order to pull the whole thing down. The consent process is there for a reason—it makes sure your barn is designed and built to be structurally sound and safe, protecting your people, your animals, and your investment.
At Prac Skills, we're all about providing practical, real-world knowledge that helps you get the job done right. Our online courses are designed for Kiwis who want to build their skills in agriculture, animal care, and more, all on their own schedule. If you're ready to deepen your expertise, check out our range of flexible, career-focused courses at https://www.pracskills.co.nz.