
February 2, 2026
.webp)

How to Identify Duplicates in Excel A Guide for Kiwi Businesses
Learn how to identify duplicates in Excel with practical methods. This guide covers formulas, Power Query, and tools for data cleaning.
Practical Skills
minutes
Finding duplicates in Excel doesn’t have to be a chore. You can use built-in tools like Conditional Formatting to make them stand out visually, or the Remove Duplicates feature to get rid of them in a flash. If you need a bit more control, formulas like COUNTIF are great for flagging duplicates so you can review them before making any changes.
Why Finding Duplicates in Excel Is a Game Changer

Staring down a massive, messy spreadsheet can feel overwhelming, especially when you’ve got that nagging feeling that hidden errors are throwing off your numbers. For Kiwi businesses, duplicate data is way more than a minor headache—it's a hidden cost that quietly sabotages your hard work and skews your decision-making.
Think about an Auckland-based side hustle managing client bookings. Just one duplicated entry could lead to an embarrassing double-booking, wrecking your reputation and creating scheduling chaos. Or picture a Waikato farm tracking livestock data; a repeated animal ID could inflate stock counts, causing you to order the wrong amount of feed and messing up your financial forecasts.
The Real Impact of Dirty Data
The fallout from unchecked duplicates ripples through every part of a business. When you don't know how to identify duplicates in Excel, you’re leaving the door open to a bunch of problems that can seriously stunt your growth and efficiency.
These issues often pop up in ways that aren't immediately obvious, but they create a chain reaction.
- Flawed Financial Reporting: Duplicated sales figures can make your revenue look better than it is, leading to bad budgeting decisions and even incorrect tax filings.
- Wasted Resources: Sending marketing flyers or emails to the same customer multiple times because their name is in your list twice is a straight-up waste of money.
- Poor Customer Relationships: Chasing a client for the same invoice twice makes you look unprofessional and disorganised, and it quickly erodes trust.
- Inaccurate Inventory: Double-counted stock items can lead to ordering too little or too much, which messes with your cash flow and can leave customers waiting.
In New Zealand's bustling agriculture sector, where data from dairy farms and livestock operations is massive, spotting duplicates is absolutely critical. A recent study found that poor data management led to duplicate entries inflating stock counts by up to 15% in 28% of surveyed farms. You can read the full agricultural production census on the Stats NZ website.
Getting a handle on Excel’s built-in tools gives you a powerful first line of defence against these issues. It’s the perfect starting point for the practical, real-world solutions we're about to dive into.
Quickly Highlight and Remove Duplicates
When you need to get a fast handle on duplicate data, Excel has a couple of fantastic built-in tools that are perfect for a quick clean-up. These methods don't require you to wrestle with complex formulas and give you immediate results, making them ideal for tasks like tidying up a customer contact list or a simple inventory sheet.

The first port of call for many is Conditional Formatting. This feature is your best friend for visually spotting problems without actually changing any of your data. Think of it as taking a highlighter pen to your spreadsheet; it makes duplicate entries pop out in a colour of your choice so you can see exactly what you're dealing with.
This is especially handy for a quick data health check. By seeing how many duplicates you have, you can decide whether you need a simple fix or a more in-depth clean-up.
Making Duplicates Stand Out with Colour
To put Conditional Formatting to work, just select the column or range of cells where you suspect duplicates are hiding. From the Home tab, click on Conditional Formatting, then head to Highlight Cells Rules, and finally select Duplicate Values. A small dialogue box will pop up, letting you choose how to format the duplicates—the default red fill is usually perfect for the job.
Once you click OK, all repeated values in your selected range will instantly be coloured in. Simple as that. You've now got a clear visual map of your duplicate problem.
Pro Tip: Before you delete anything, always create a backup copy of your worksheet. Right-click the sheet tab at the bottom, select "Move or Copy," and tick the "Create a copy" box. This simple step has saved me from a major headache more times than I can count.
The Power of the Remove Duplicates Tool
When you’ve spotted the duplicates and you're ready to get rid of them for good, Excel’s Remove Duplicates tool is the most direct way to do it. This function is incredibly powerful but you need to be careful with it. You'll find it under the Data tab in the Data Tools group.
This tool permanently deletes entire rows, so precision is key.
Let's imagine a dog walking business in Christchurch cleaning up their client list. They might have two clients named "Sarah Jones," but they are different people with different dogs and phone numbers. If you just remove duplicates based on the name, you’ll lose a client.
To handle this properly, you would select the entire data range and then click Remove Duplicates. In the pop-up window, you can untick columns like 'Client Name' and select only the 'Phone Number' and 'Email Address' columns. This tells Excel to only remove a row if the phone number and email are identical, protecting unique clients who just happen to share a name. This level of control is vital for keeping an accurate client database.
For Kiwi side hustles, like the booming dog walking sector, this kind of Excel diligence prevents client list chaos. With 1.5 million dogs in NZ households and side hustles growing 27% annually, data errors are costly. In fact, research shows 41% of pet service providers have faced issues from duplicate bookings, leading to significant revenue losses from being overbooked. You can get more details on using this feature on the official Microsoft support page.
Excel's Built-In Duplicate Tools at a Glance
Sometimes you just need the right tool for the job without overthinking it. This table breaks down when to use Conditional Formatting versus the Remove Duplicates tool.
Choosing the right one from the get-go saves you time and prevents accidental data loss. Always highlight first if you're unsure!
Mastering these built-in features will speed up your workflow immensely. And if you really want to become an Excel whiz, check out our guide on essential shortcut keys for Excel that every business owner should know.
Using Formulas for More Control Over Duplicates
Sometimes, the one-click Remove Duplicates button is just too blunt an instrument for the job. You might need to figure out why a duplicate exists before you decide its fate. This is where Excel formulas give you the precision and control that the automated tools simply can't offer. They let you flag duplicates for review without immediately deleting potentially critical information.
The go-to formula for this task is COUNTIF. It’s a beautifully simple yet powerful function that counts how many times a specific value appears in a range of cells. By dropping it into a "helper column," you can create a clear flag next to every single duplicate entry, giving you the power to filter, sort, and investigate them one by one.
Building Your Duplicate-Finding Formula
Picture a horticulture business in Hawke's Bay tracking produce shipments. Every shipment has a unique batch number. If a batch number shows up twice, it could signal a major logistical error—maybe two different shipments were accidentally given the same ID, or one shipment was entered into the system twice.
Just deleting one of those entries would be a huge risk; you might erase a legitimate record. Instead, we can use a formula to find the problem without causing another one.
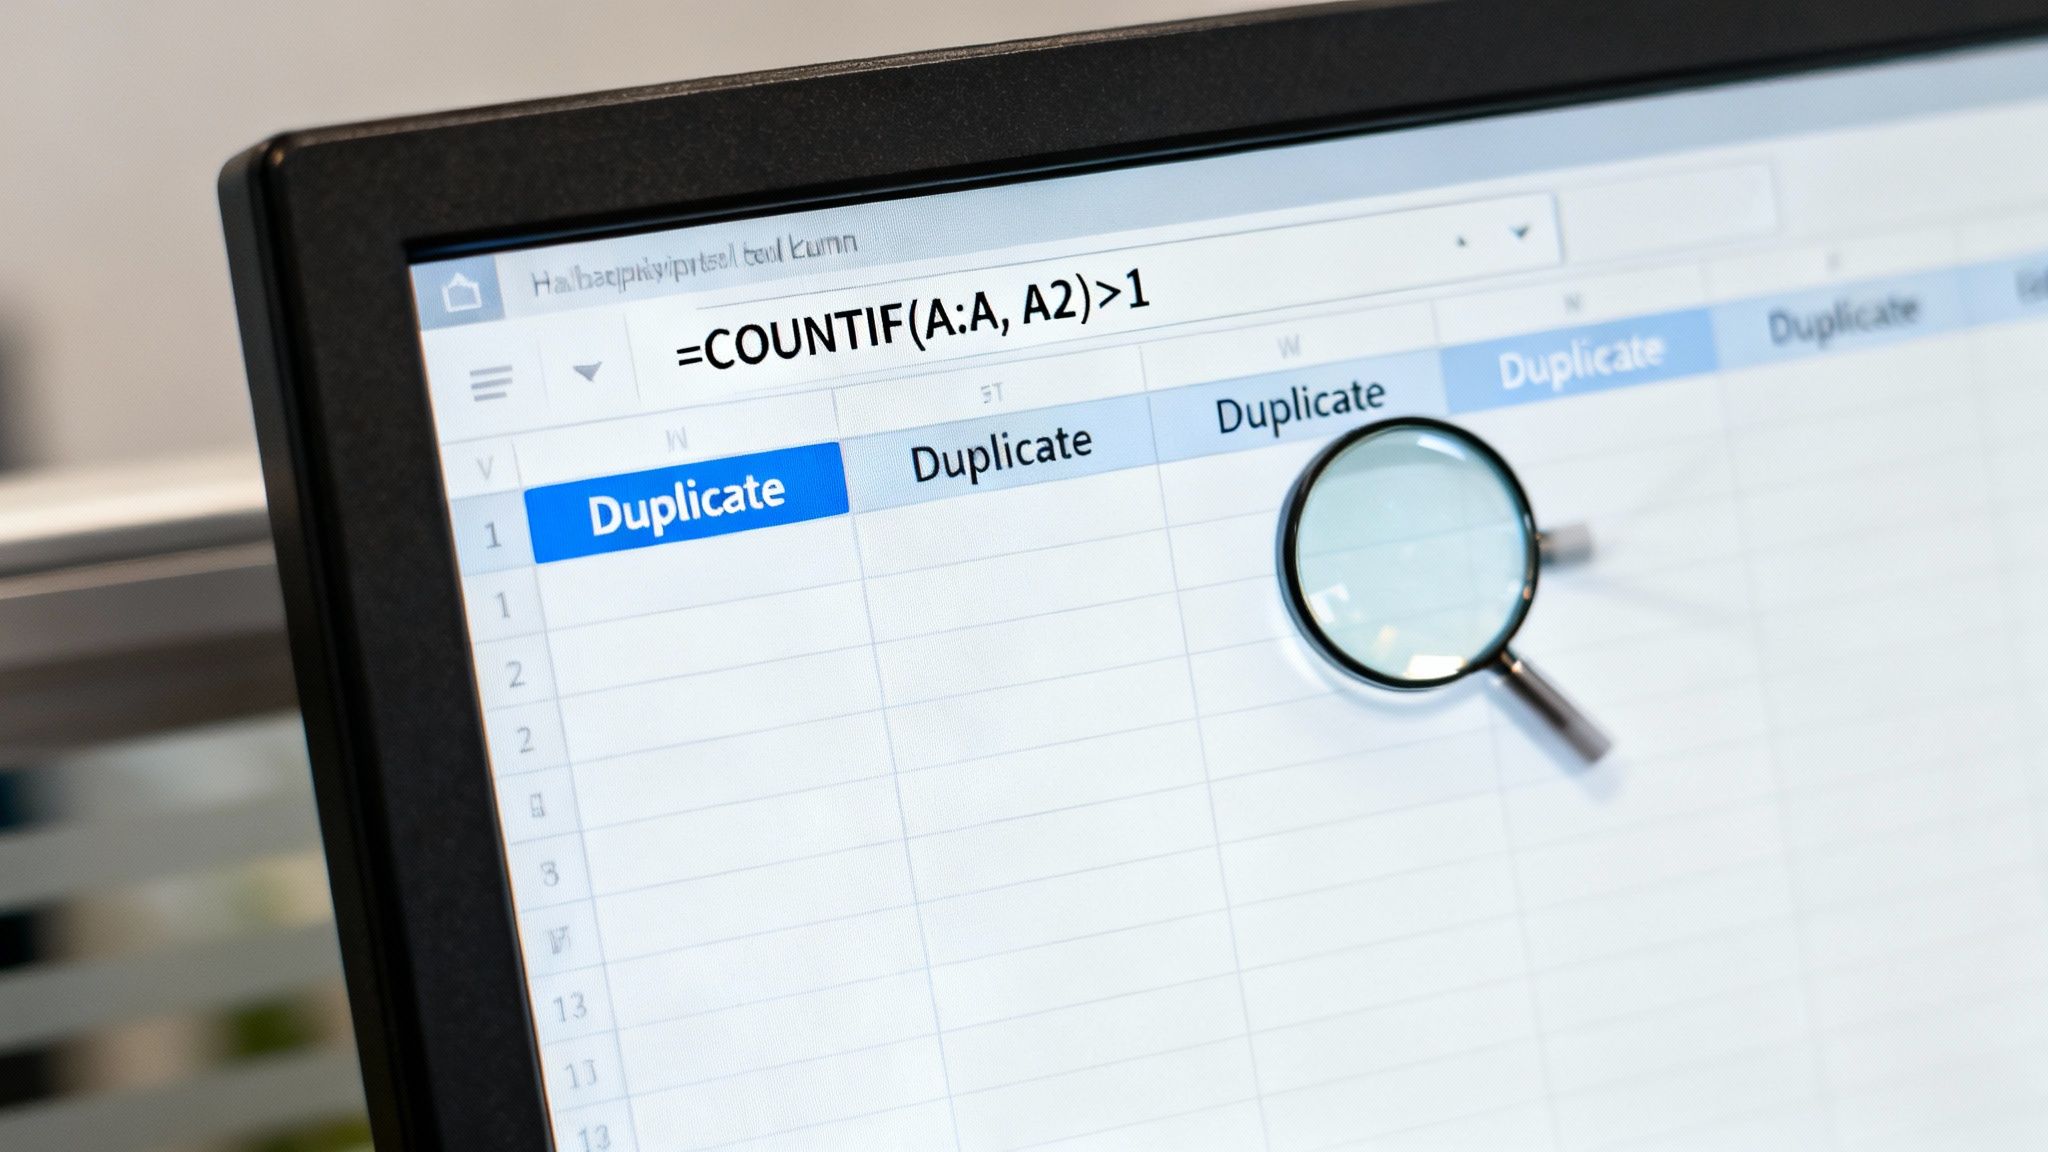
In a blank column right next to your data (let's say your batch numbers are in column A), you’d pop this formula into the second row (for example, in cell B2):
=COUNTIF(A:A, A2)>1
Let's break that down into plain English.
COUNTIF(A:A, A2): This bit tells Excel to look through the entire column A (A:A) and count how many times it finds the value that's currently sitting in cellA2.>1: This is a simple logic test. It asks, "Is the count from the first part greater than one?"
When you drag this formula down the column, it spits out either TRUE for every row that is a duplicate or FALSE for every unique entry. TRUE means the batch number has appeared more than once, instantly flagging it for you to check out. You can then just filter your sheet to show only the TRUE values and get a complete list of all your potential duplicates.
This method is invaluable because it preserves your original data. It provides the evidence you need to make an informed decision, rather than forcing you into a quick deletion that you might regret later. It turns a messy data problem into a clear, actionable to-do list.
Why This Control Matters
For so many Kiwi businesses, context is everything. A duplicate entry might not even be an error. It could be a repeat order from a loyal customer or a second payment on an invoice. Without the ability to investigate, you risk completely misinterpreting your own data.
Using formulas to identify duplicates puts you firmly in control of your spreadsheet. It's a fundamental technique that shifts your approach from simply "cleaning" data to truly understanding it. Getting comfortable with formulas like these is a key step in mastering your business data, and there are plenty of other resources to help you explore more practical skills for business management.
Automating Your Workflow with Power Query

When your spreadsheets start to feel less like simple lists and more like sprawling databases, the manual methods for weeding out duplicates just won't cut it. For anyone wrangling larger, more complex data—especially information that changes regularly—Power Query is your secret weapon for repeatable, automated duplicate hunting. It’s Excel’s own data transformation engine, a real powerhouse tucked away under the Data tab.
Think of Power Query as a dedicated workshop right inside Excel. You bring in your raw, messy data, apply a series of clean-up steps, and then load the pristine final version back into your workbook. The real magic? The entire process is recorded. Next time you get an updated file, you just hit "Refresh," and Power Query automatically runs through every single step for you.
Getting Started with the Power Query Editor
First things first, you need to get your data into the Power Query Editor. This is a simple process that creates a live connection to your data source instead of messing with the original file, which is a great safety net.
Here's how to launch it:
- Click any cell inside your data table.
- Head up to the Data tab on the Ribbon.
- In the Get & Transform Data section, click on From Table/Range.
Excel will then whisk you away to the Power Query Editor in a new window, showing a preview of your data. This is your command centre for building an automated workflow. Every single click and transformation you make here gets recorded as a step, creating a "query" you can use over and over again.
Defining and Removing Duplicates with Precision
This is where Power Query truly outshines the basic tools. Unlike the standard Remove Duplicates function, it gives you granular control over what actually counts as a duplicate, letting you check across multiple columns.
Picture a farm manager in Canterbury who consolidates livestock records from different sources every month. A duplicate isn't just a repeated animal tag ID; it's the exact same tag ID logged on the exact same date. To zap only those specific duplicates, you’d do this:
- Inside the Power Query Editor, hold down the
Ctrlkey and select both the 'Animal ID' column and the 'Date' column. - Go to the Home tab, click the Remove Rows dropdown menu.
- Choose Remove Duplicates.
Instantly, Power Query filters out any rows where the combination of values in those two columns is identical, leaving you with a clean, reliable dataset.
The game-changer here is that this whole process becomes a refreshable recipe. When next month's data lands, you just add it to your source table, click 'Refresh All' back on the Data tab in Excel, and Power Query will automatically apply the exact same cleaning steps to the new information. No more mind-numbing repetition.
Why Automation Is Key for Growing Businesses
Manually cleaning data isn't just tedious; it's a bottleneck that grinds your business to a halt. By setting up a Power Query workflow, you’re building a reliable, error-free system that can save you hours every single week. This frees you up to focus on analysing the data, not just wrestling it into shape.
Getting comfortable with tools like this is a massive part of modern business management. Mastering them can seriously boost your efficiency. If you're keen to build on these skills, exploring other digital skills courses can lay a solid foundation for growth. For those curious about the bigger picture, you can also learn more about the Microsoft Power Platform to see how Power Query fits into a wider ecosystem of business automation tools.
Handling Tricky Data and Fuzzy Matching
So what happens when your duplicates aren’t perfect copies? Real-world data is rarely that clean. It's often riddled with typos, abbreviations, and weird formatting that the standard tools will completely miss.
This is a massive headache when you're trying to merge customer databases or supplier lists from different places.
For instance, your spreadsheet might have "John Smith," "J. Smith," and "Smith, John" listed as separate entries. To Excel's built-in tools, these are all unique. But to you, they're obviously the same person. This is where the idea of fuzzy matching comes in.
Fuzzy matching is a clever technique that finds duplicates that are the same in spirit, but not identical in text. Instead of demanding a perfect match, it measures how similar two bits of text are and flags the ones that are "close enough."
Introducing the Fuzzy Lookup Add-In
To get on top of these tricky near-duplicates, you'll need something a bit more specialised than what comes standard in Excel. The Fuzzy Lookup Add-In for Excel is a free download from Microsoft, built specifically for this job. Once it's installed, it adds a new tab to your Excel ribbon, giving you a powerful new way to clean up your data.
Think of it as a smarter way to find duplicates—one that understands human error. It compares two lists and spits out a new table showing the most likely matches, complete with a similarity score for each pair.
This tool is an absolute lifesaver for jobs like:
- Merging Customer Lists: Trying to combine a list from your website with another from an in-store sign-up sheet, where names and addresses have probably been typed in slightly differently.
- Cleaning Supplier Data: Standardising supplier names like "Kiwi AG Supplies Ltd" and "Kiwi Agricultural Supplies."
- Consolidating Product Catalogues: Matching up products that have minor variations in their names or descriptions.
Setting Your Similarity Threshold
The heart of the Fuzzy Lookup tool is the similarity threshold. This is a setting you control—usually a number between 0 and 1—that tells the tool how closely two values must match to be considered a potential duplicate.
A threshold of 1.0 demands a perfect match. A lower threshold like 0.8 allows for minor differences like typos or abbreviations. Be careful, though—setting it too low might create false positives, while setting it too high might miss valid matches.
Experimenting with this threshold is the key to getting it right. I usually start with a higher value, like 0.9, and see what it catches. If it's missing some obvious pairs, I'll gradually lower it until I find the sweet spot for that particular set of data.
Getting this right gives you the confidence to clean up even the messiest of spreadsheets, ensuring your data is accurate and reliable when you're making important business decisions.
Common Questions About Finding Duplicates in Excel
As you get more comfortable wrangling your data, a few common questions always seem to pop up. Let's be honest, data cleaning is rarely a simple, one-and-done job. Different situations call for different tactics.
Here are some of the most frequent queries we get from Kiwi business owners, along with some practical answers that build on the methods we've already covered.
Can I Find Duplicates Across Multiple Columns?
Absolutely, and this is a critical skill for getting your data properly clean. Often, a real duplicate isn't just a repeated name or product code in one column—it’s the entire record being repeated.
Think about a customer list. Someone might appear twice with the same first name, last name, and phone number. To catch that, you need a way to check all three of those columns at once.
- Remove Duplicates Tool: This is the most direct route. When the tool's dialogue box opens, just tick the boxes for every column that makes up a unique record—in this case, 'FirstName', 'LastName', and 'Phone'. Easy as.
- Power Query: As we've seen, this is Power Query's bread and butter. You can select multiple columns and then hit 'Remove Duplicates'. It's a robust way to build a cleaning process you can run again and again.
- Formula Approach: A classic workaround is to create a 'helper column'. In a new column, you can join the values from the others together with a simple formula like
=A2&B2&C2. Then, just run your trustyCOUNTIFformula on this new 'combined' column to spot the duplicates.
How Can I Remove Duplicates but Keep the First Entry?
This is probably the most common request we hear. When you find duplicates, you nearly always want to get rid of the copies and hang on to the original.
The good news is that Excel’s built-in Remove Duplicates tool does exactly this by default.
It works its way down your list from the top. When it hits a set of duplicate rows, it automatically keeps the very first one it finds and clears out all the ones that follow. You don't have to configure anything extra—it just works.
This top-down logic is incredibly reliable. If your data is sorted in a way that makes sense (say, by date), you can trust that you’re keeping the earliest record and ditching the later, redundant ones.
Is There a Way to Compare Two Lists for Duplicates?
Yep, and it's a super common job. You might be comparing this month's customer list with last month's to see who your repeat buyers are, or checking a new supplier list against your existing one. The COUNTIF formula is your best friend here.
Let's say you have List 1 in Column A and List 2 in Column C. In an empty column right next to List 2 (we'll use Column D), you can pop in this formula:
=COUNTIF(A:A, C2)>0
What this does is check if the value in cell C2 exists anywhere in the whole of Column A. If it finds a match, it will return TRUE. You can then filter for all the TRUE values to instantly see all the entries that appear on both lists.
At Prac Skills NZ, we reckon that mastering practical digital skills is the key to growing your business or side hustle. Our training is built for busy Kiwis who need clear, actionable knowledge without the fluff. To build your confidence and become a true Excel pro, explore our range of career-focused courses today.
